So, you have decided to use a 3D animation in your case?
Great! Now that you know a little about how animation has come to be, it’s time to make one of your own! In the legal field, technology in the courtroom is no longer just for the modern litigator, but for any attorney aiming to persuade a jury full of tech-savvy individuals to their side. Whether reconstructing a slip and fall or taking the audience through a complicated medical procedure, this form of storytelling has been adjusted to stand the scrutiny of trial by utilizing scientific measurements, accurate medical documentation, and the input of experts in their respective fields.
Having a dynamic visual on your side will always bolster you past your opponent. After reading this step by step “how-to” guide you will be creating animations for your upcoming trials in no time!
Let's get started!
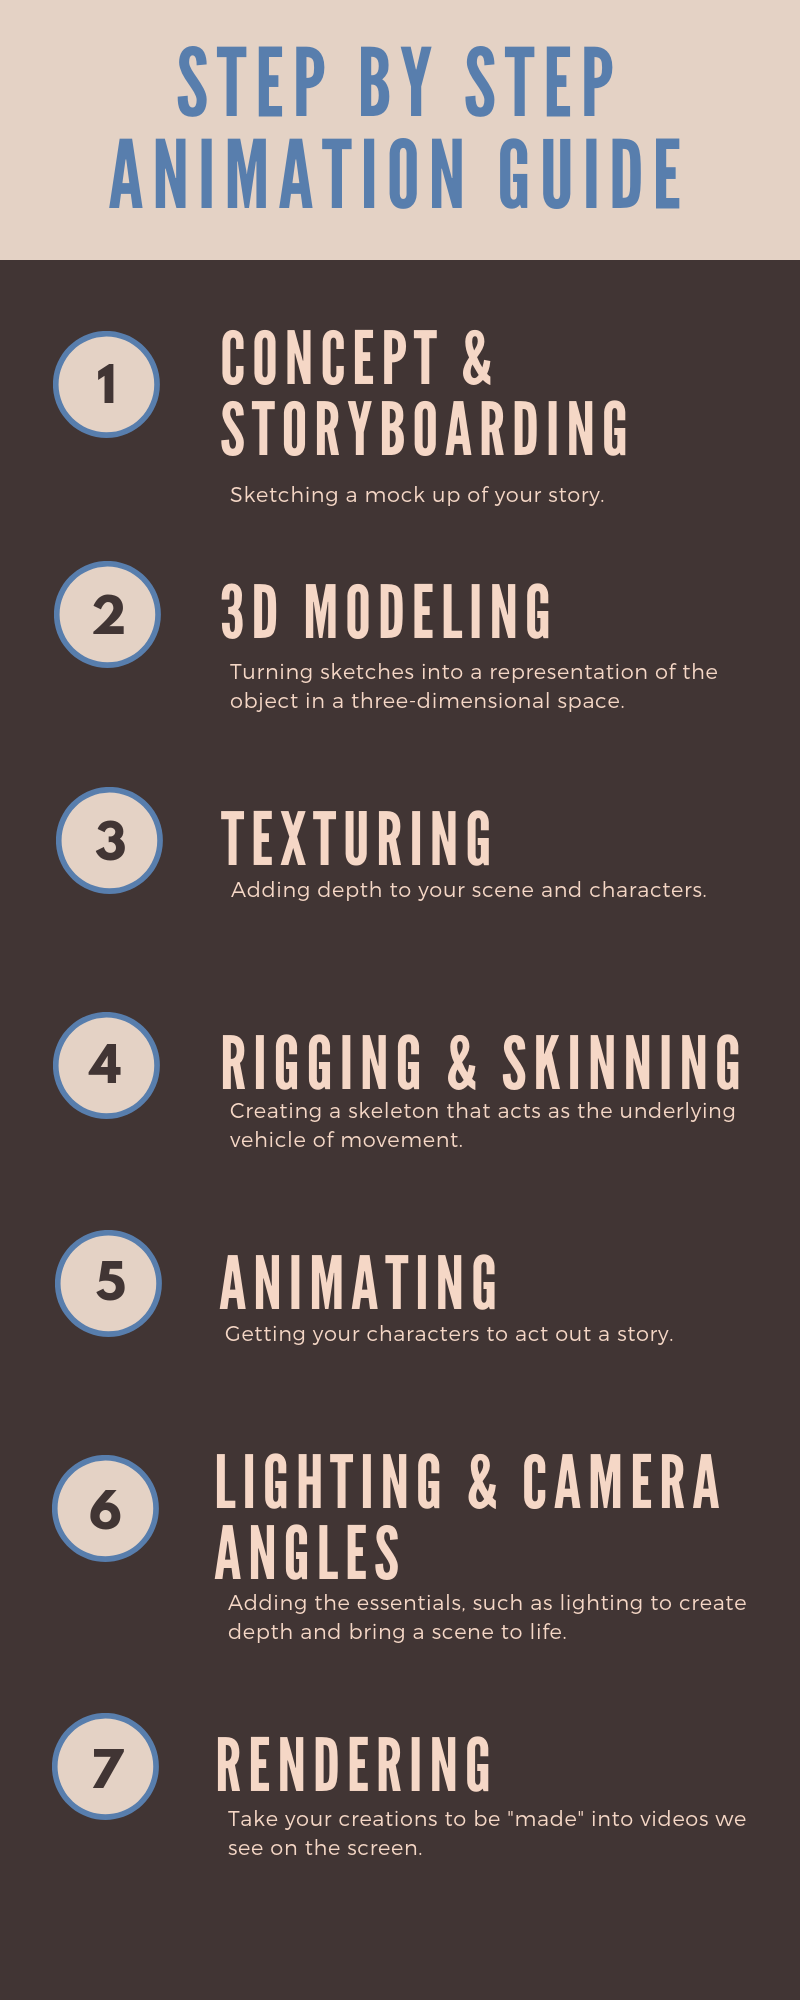
There are a few basic steps for creating an animation that every studio follows.

Concept Storyboarding
First things first, sketch a mockup of the story you want to show on the screen. This is done with a series of frame-by-frame drawings which become the skeleton for your visual, also known as, storyboards. These are used throughout the production process, and although not set in stone, these act as a point of reference to ensure that the finished product holds true to the main story points.
3D Modeling
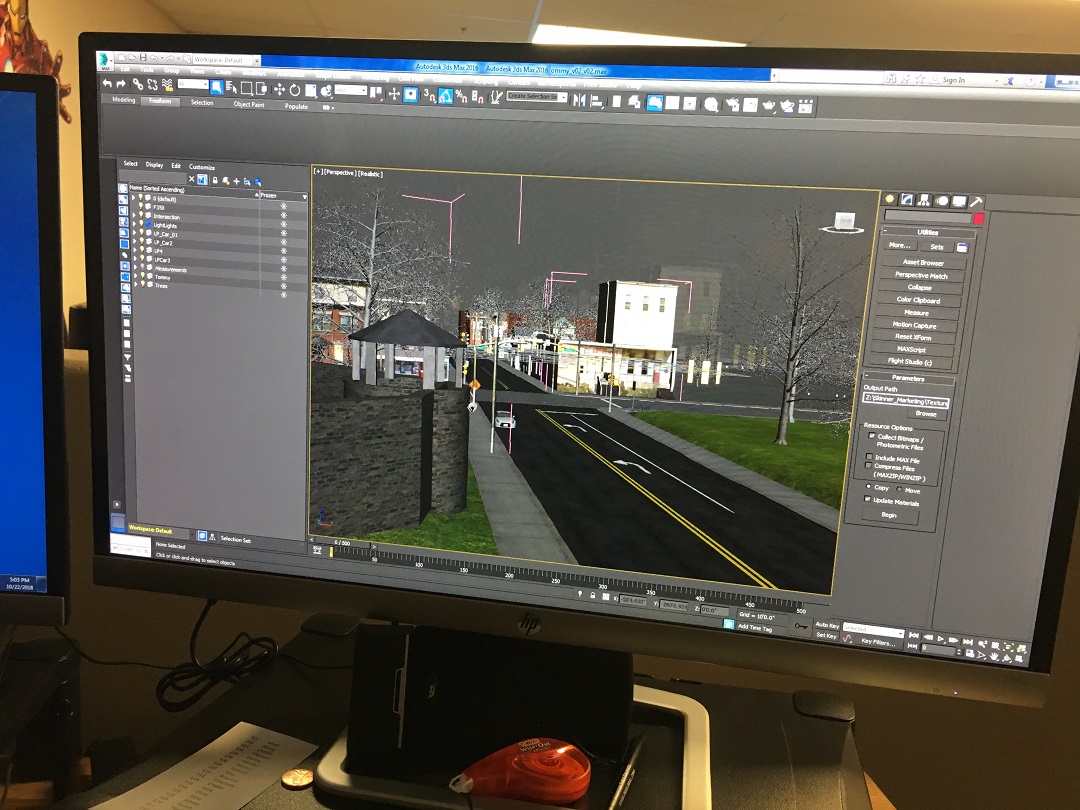
Now take those sketches and turn them into a mathematical representation of the object or surface in a three-dimensional space. Sounds simple enough, right? In actuality, it’s pretty complicated. Specialized software exists to help in this process, taking your sketches and creating the figures in a digital 3-dimensional space. This gives you the ability to build the characters, props, and environments which will exist in your animation.
Texturing
Add depth to your scene and character by adding clothes to your 3D models, covering them with the proper surfaces. This is done by laying 2D images over a wire mesh model which adds color, design, and textures making them appear closer to their real-life counterparts.

Rigging and Skinning
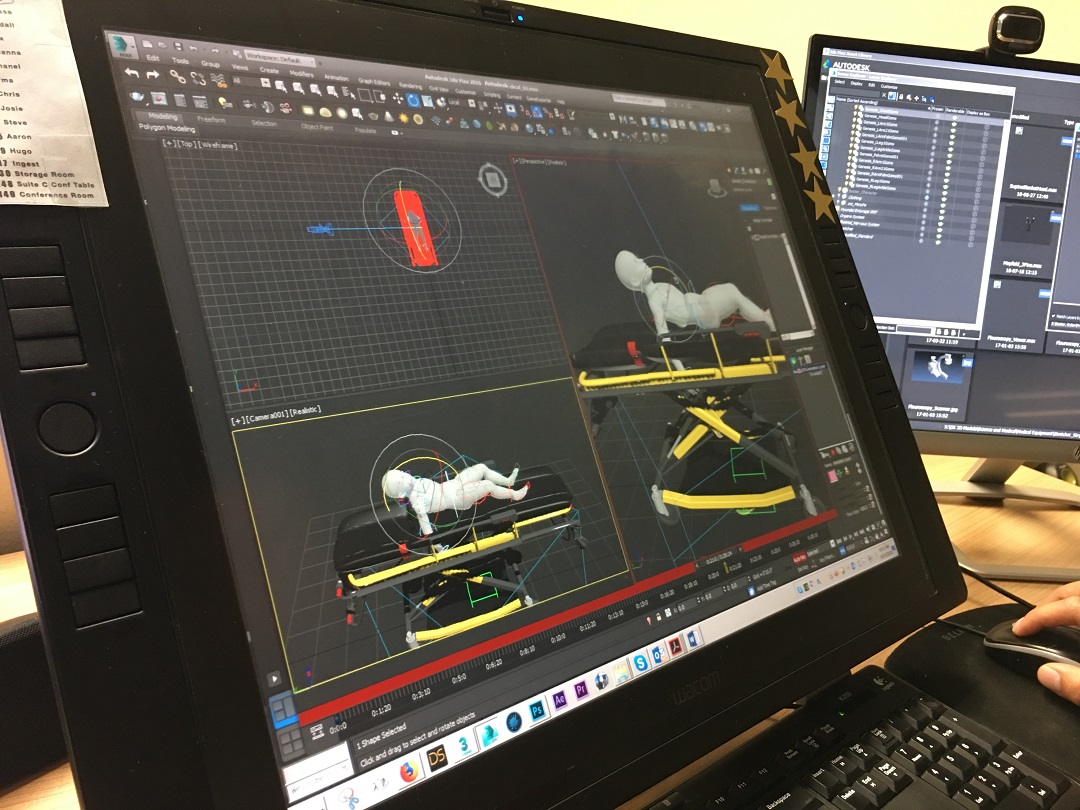
Here you create a skeleton which acts as the underlying vehicle of movement for your creation. Without this skeleton, you would have no control over your model! Every rig is different for every created aspect and controls details as little as a strand of hair blowing in the wind while your character walks across the street. Skinning is the same process but for the covering layer of your model; after all, it wouldn’t make much sense if the lips didn’t move when the mouth did.

Animating
After you’ve done all of that, you are now ready for the fun to start! Here is where you get your characters to act out the storyline you set up back at step 1. The actual animation is done in a few different ways: keyframes, procedural, or physically-based. Importing motion capture data and attaching it to a specific object is a popular form of animation in modern times; creating a lifelike movement that has become a staple in major production companies.
Lighting & Camera Angles
These essential steps move your overall production from its flat beginnings to a dynamic world on your screen. The right lighting creates depth and brings to life a scene that can be almost indistinguishable from real life. In the 3D world, there are no actual “lights” instead a 3D object simulates the lighting effect on the environment around it by brightening the surfaces of items placed in front of it.
As far as camera angles go, the sky is the limit in 3D animated productions. You can take the viewer on a ride in a number of different ways that would not be possible in real life. For example, through the human body or shooting through the sky at the speed of light. You can pan, zoom, truck, dolly or impose motion blur just like a real-life camera creating dynamic perspectives for the audience.
Rendering
This is the final step in the basic production model and is usually done more than once on a single project. Here is where you take your creations to be “made” into the videos we see on the screen. Rendering can take anywhere from a few minutes to hours and can be the difference between being able to see the smallest detail of a hair follicle to not being able to make out the correct color of a car.
All done!
After this step, your project will move into post-production where it will be brought through compositing programs to be edited, touched-up and given special effects.
There you have it, a full-fledged animation! This, of course, is a beginner’s guide to animation and there are so many more bells and whistles which go into creating a final product. Our animators and illustrators are certified professionals who have studied this art for years. So, if you find yourself in need of an animation but overwhelmed by this process, don’t worry! Send your ideas our way and we will focus on bringing them to life for you. Here at DK Global, we’ve got you covered.